-40%
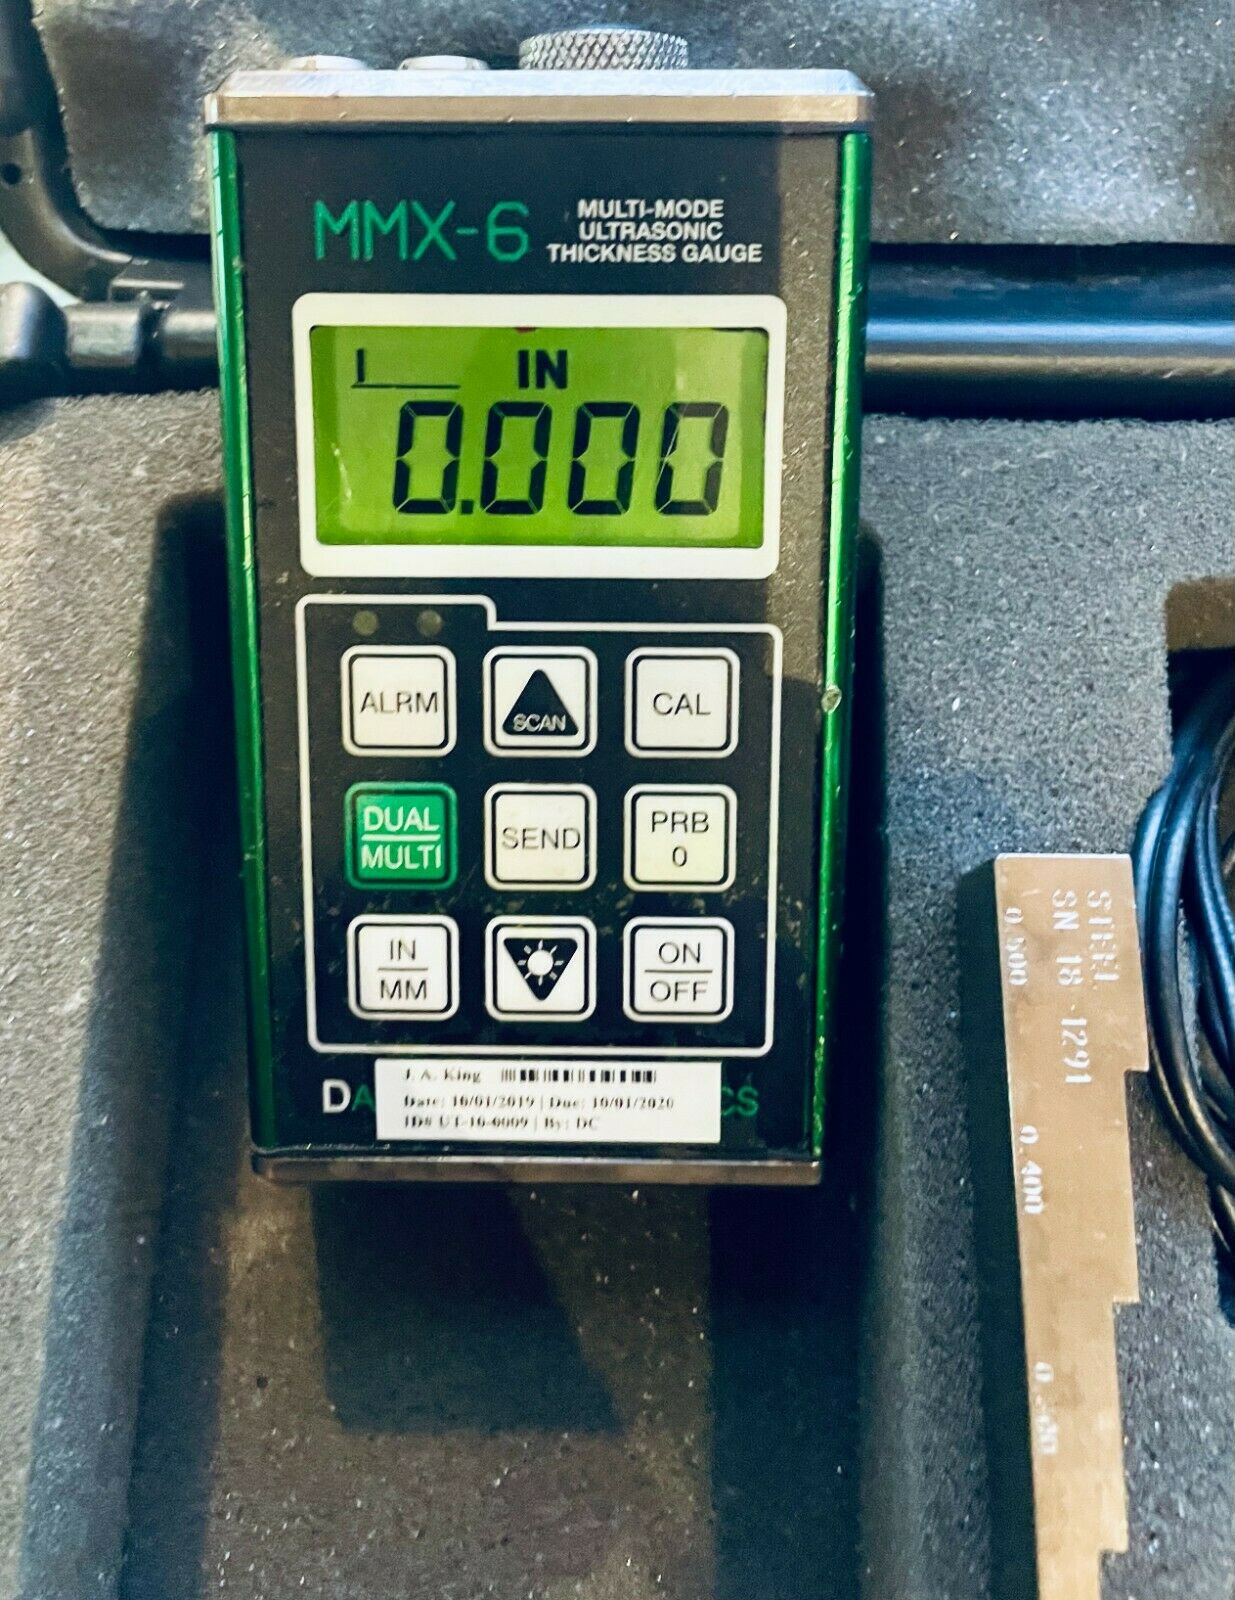
Dakota MMX-6 Ultrasonic Thickness Gauge
$ 343.2
- Description
- Size Guide
Description
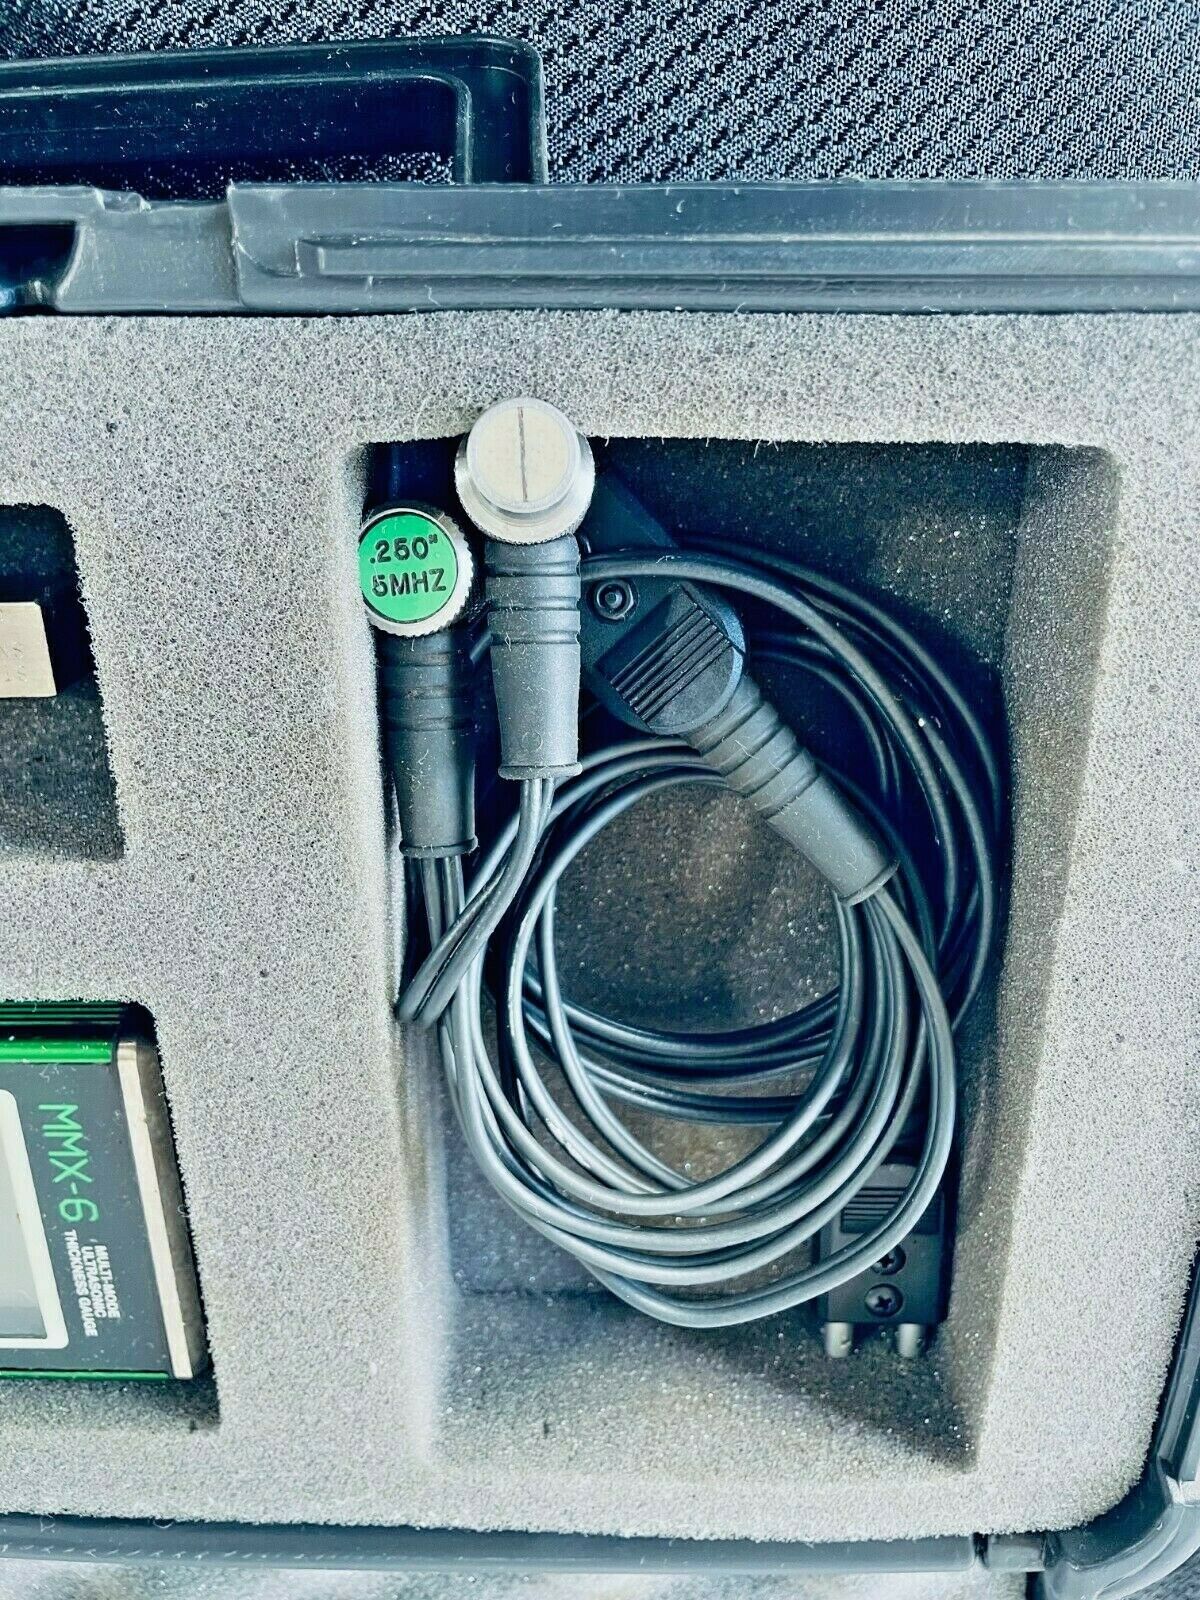
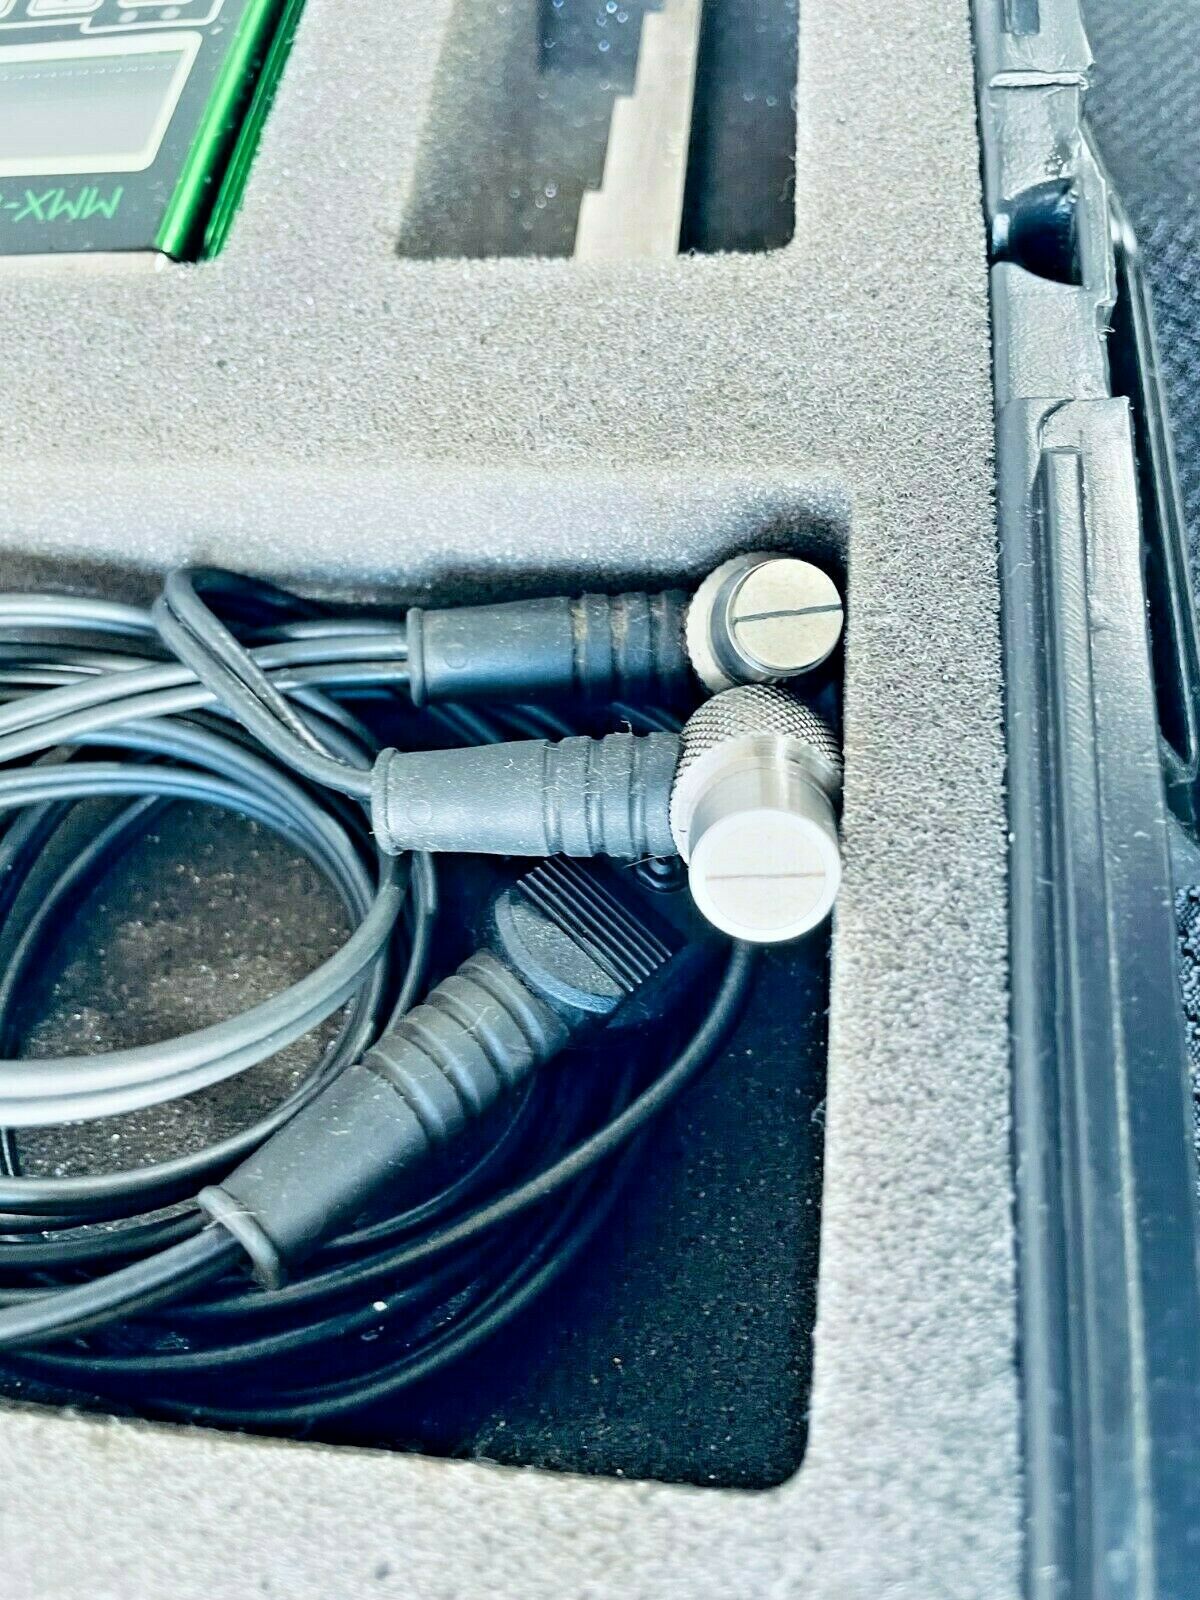
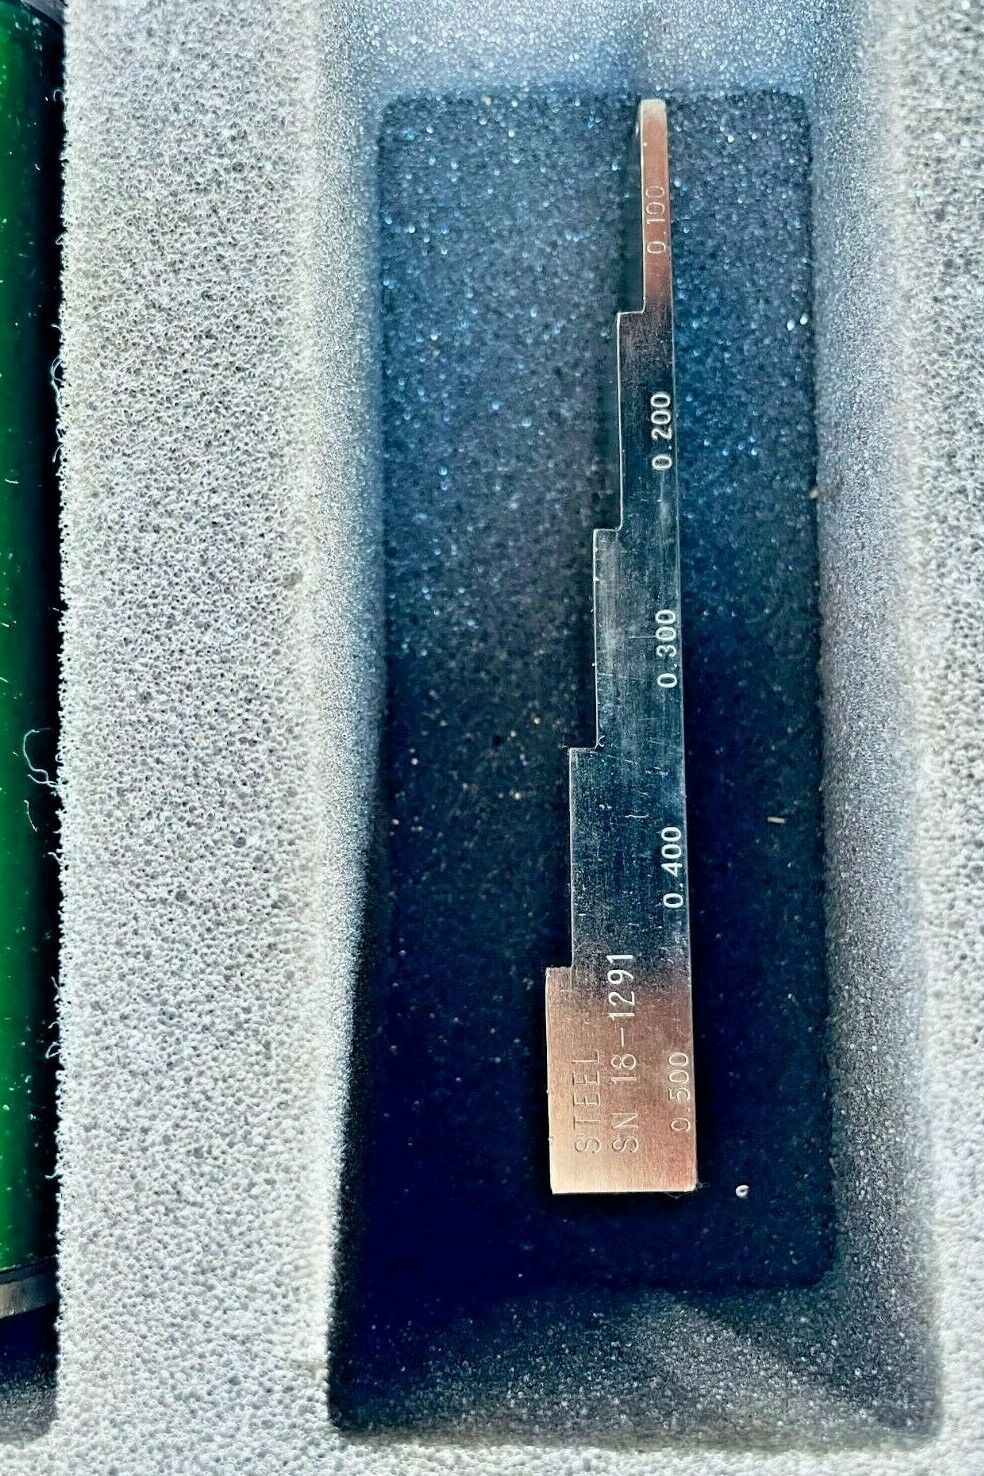
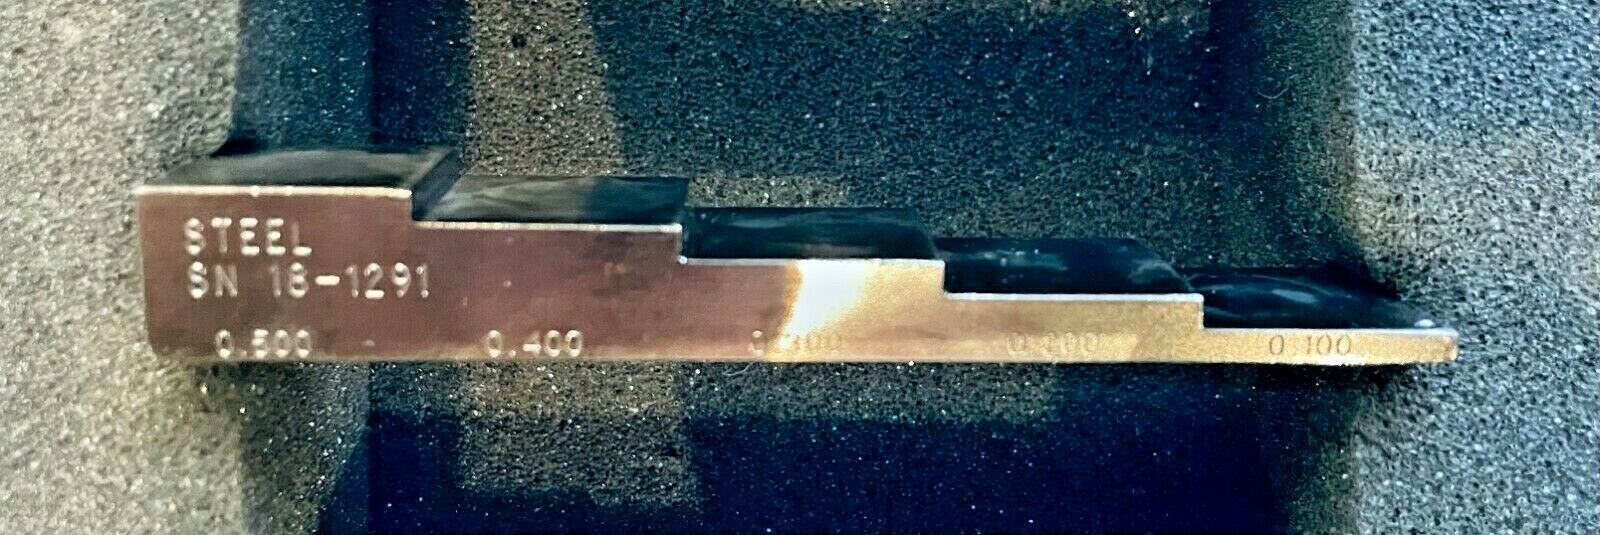
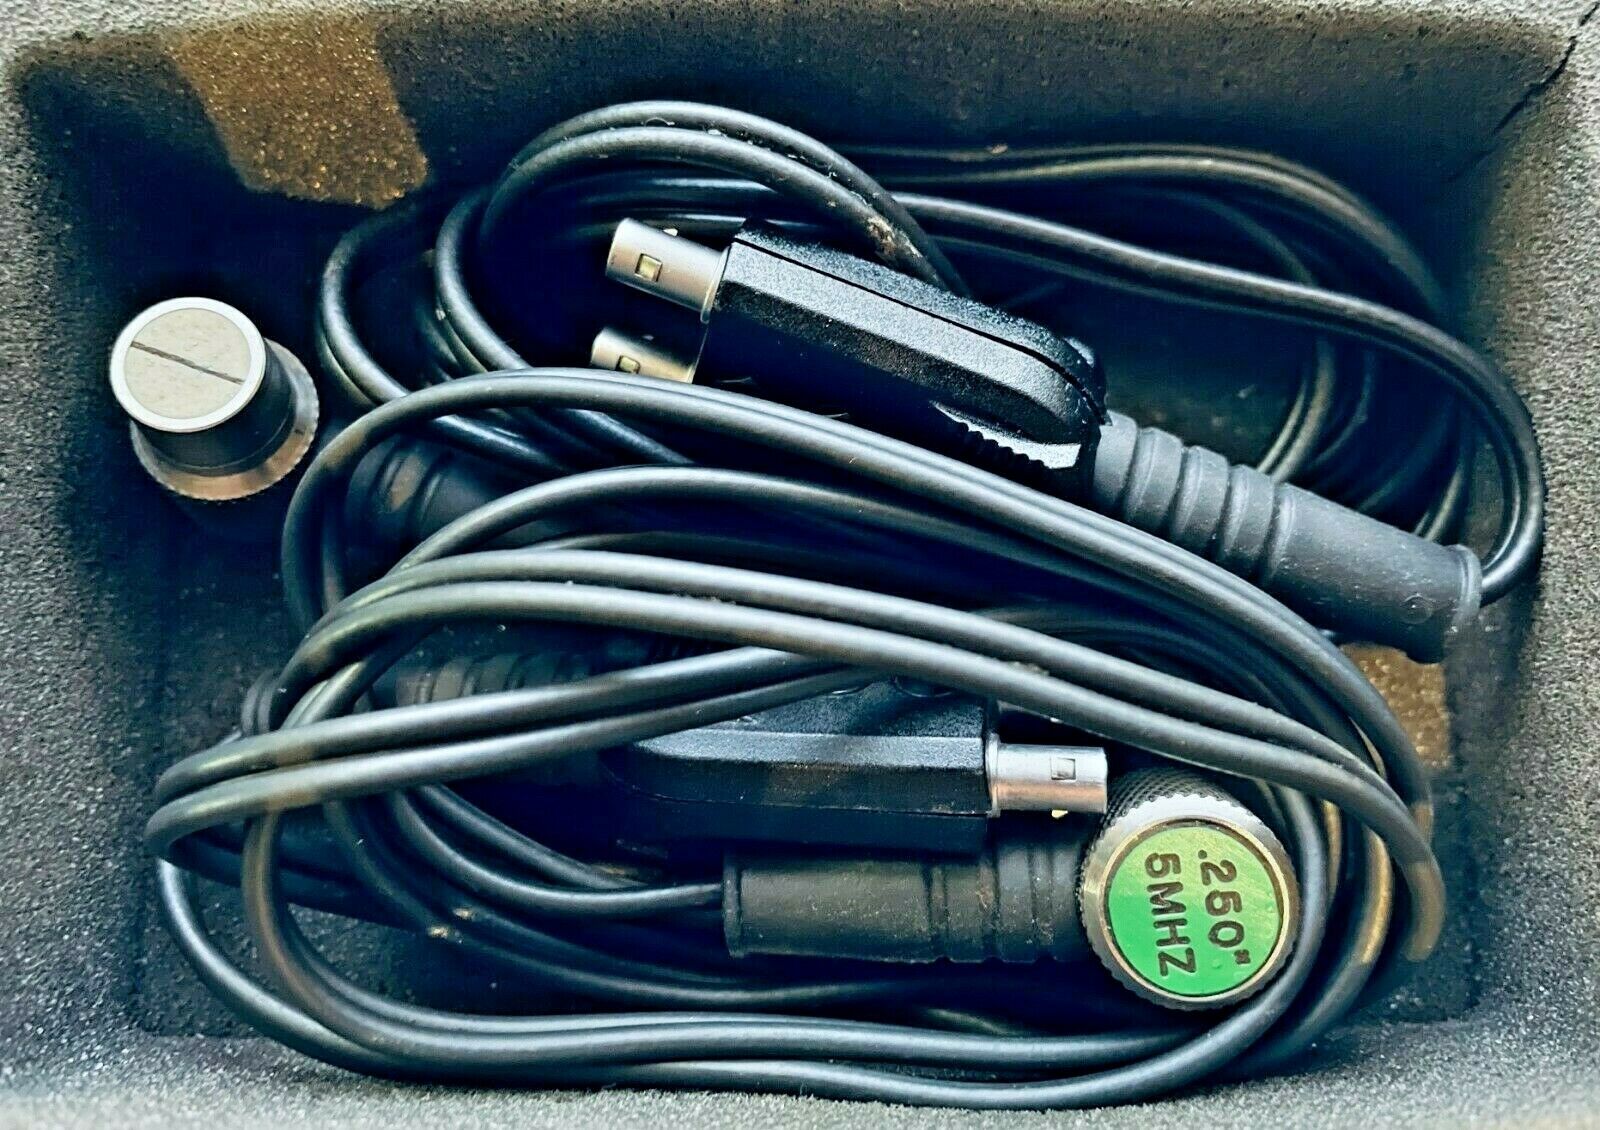
Everything shown in the photo's is included in the sale.-MMX-6 gauge
-5MHZ dual element transducers (2)
-Steel step wedge (.100,.200,.300,.400,.500)
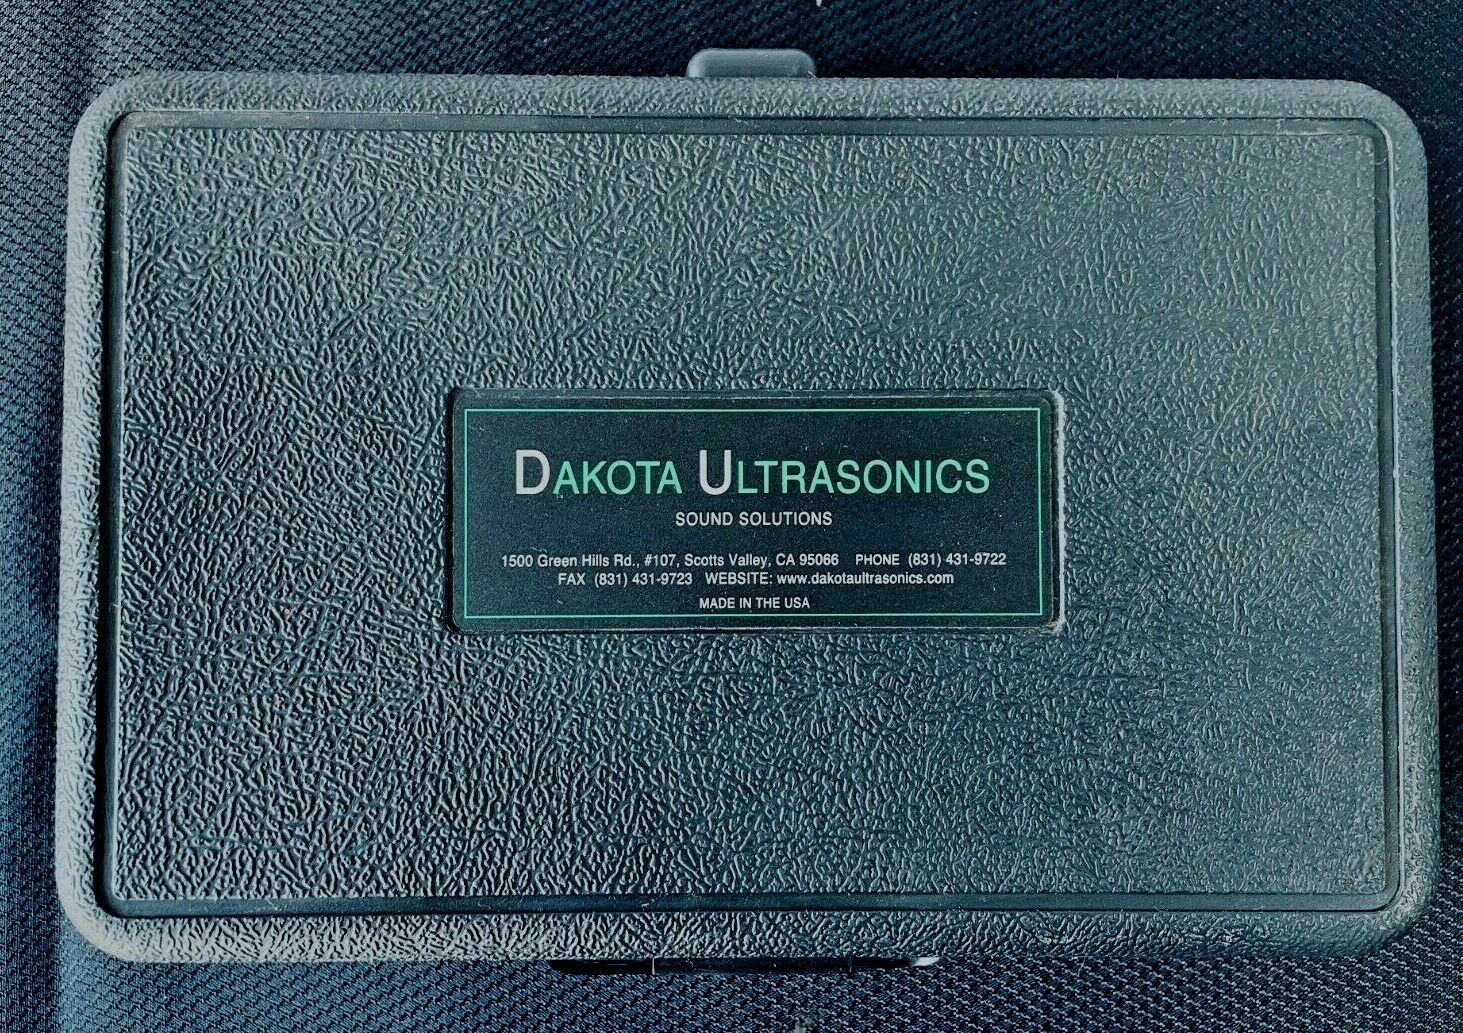
-Hardcase
Multi-Mode: Toggle between Pit/Flaw detection (Pulse Echo Mode), and through Paint/Coatings (Echo-Echo Mode) with the single press of a button.
Alarm Mode: Enter a minimum acceptable thickness value.
If measurement falls below minimum, red led will illuminate and sound beeper. If measurement is above minimum value, green led will illuminate.
Data Ouput: RS232 output sends thickness readings to a computer or other external storage device
Pulse Echo Mode (Pit & Flaw Detection):
Measures from 0.025 to 19.999 inches (0.63 to 500 millimeters).
Echo Echo Mode (Thru Paint & Coatings):
Measures from 0.100 to 1.0 inches (2.54 to 25.4 millimeters).
Switch to select English or metric units.
Resolution: 0.001 inches (0.01 millimeters)
Velocity Range: .0492 to .3937 in/microsec (1250 to 10,000 meters/sec).
Built in: Stainless steel reference disk for probe zeroing.
Four readings per second for single point measure ments or 16 per second in scan mode — captures the minimum thickness.
Multi-function 4.5 digit liquid crystal display with 0.500 inch numerals, backlit for use in poor light conditions.
Backlight is selectable: on / off / auto ( illuminates only when taking a measurement ).
Measurements displayed in inches, inches/microsecond. millimeters, and mters/second.
Bar graph indicates stability of reading.
The MMX-6 DL is equipped with an on board data logging feature. This will prove to be a valuable reporting tool for inspection purposes. It will increase efficiency by reducing the time it takes to manually record the measurements during the inspection process. The ZX-6 DL can then be connected to a computer or serial printer to save and print the results of the inspection. The ZX-6 DL has a storage capacity of 1000 measurements. The MMX-6 DL has 10 files consisting of 100 sequential storage locations in each file.
Dual Multi Mode
Often times users and inspectors in the field are faced with coated materials such as pipes and tanks. Typically inspectors will need to remove the paint or coating prior to measuring, or allow for some fixed amount of error introduced by the paint or coating thickness and velocity. An A-Scan scope with a special echo-echo mode is generally used in order to accurately perform measurements through paints and coatings. However, In order to inspect for blind wall pitting and internal flaws, both echo-echo (thru-paint / coatings), and pulse-echo (locate flaws & pits) modes are needed. Special high damped dual element transducers are also a must when performing inspections using both modes without an ascan scope for verification. A highly damped transducer rings for a much shorter time, allowing the ZX-6DL to measure thinner material thicknesses in echo-echo mode. This same transducer is equally effective when used in pulse-echo mode, eliminating the need to use different transducers for each mode. The new ZX-6DL gives you all these features in a simple to use, one button toggle, digital thickness gauge.
